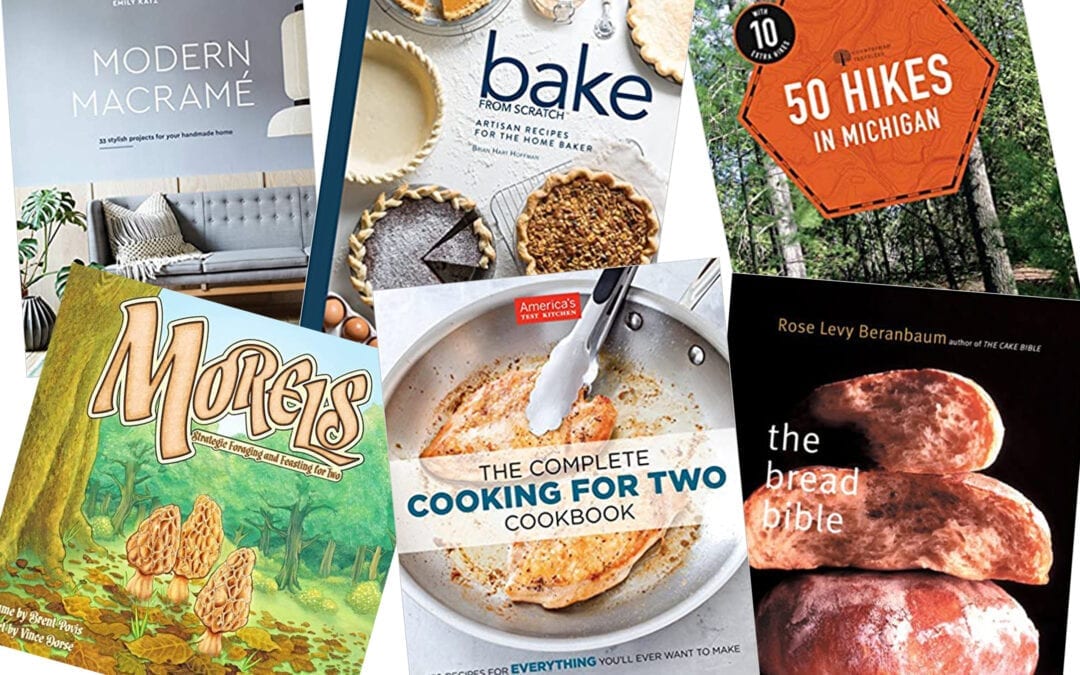
Before the
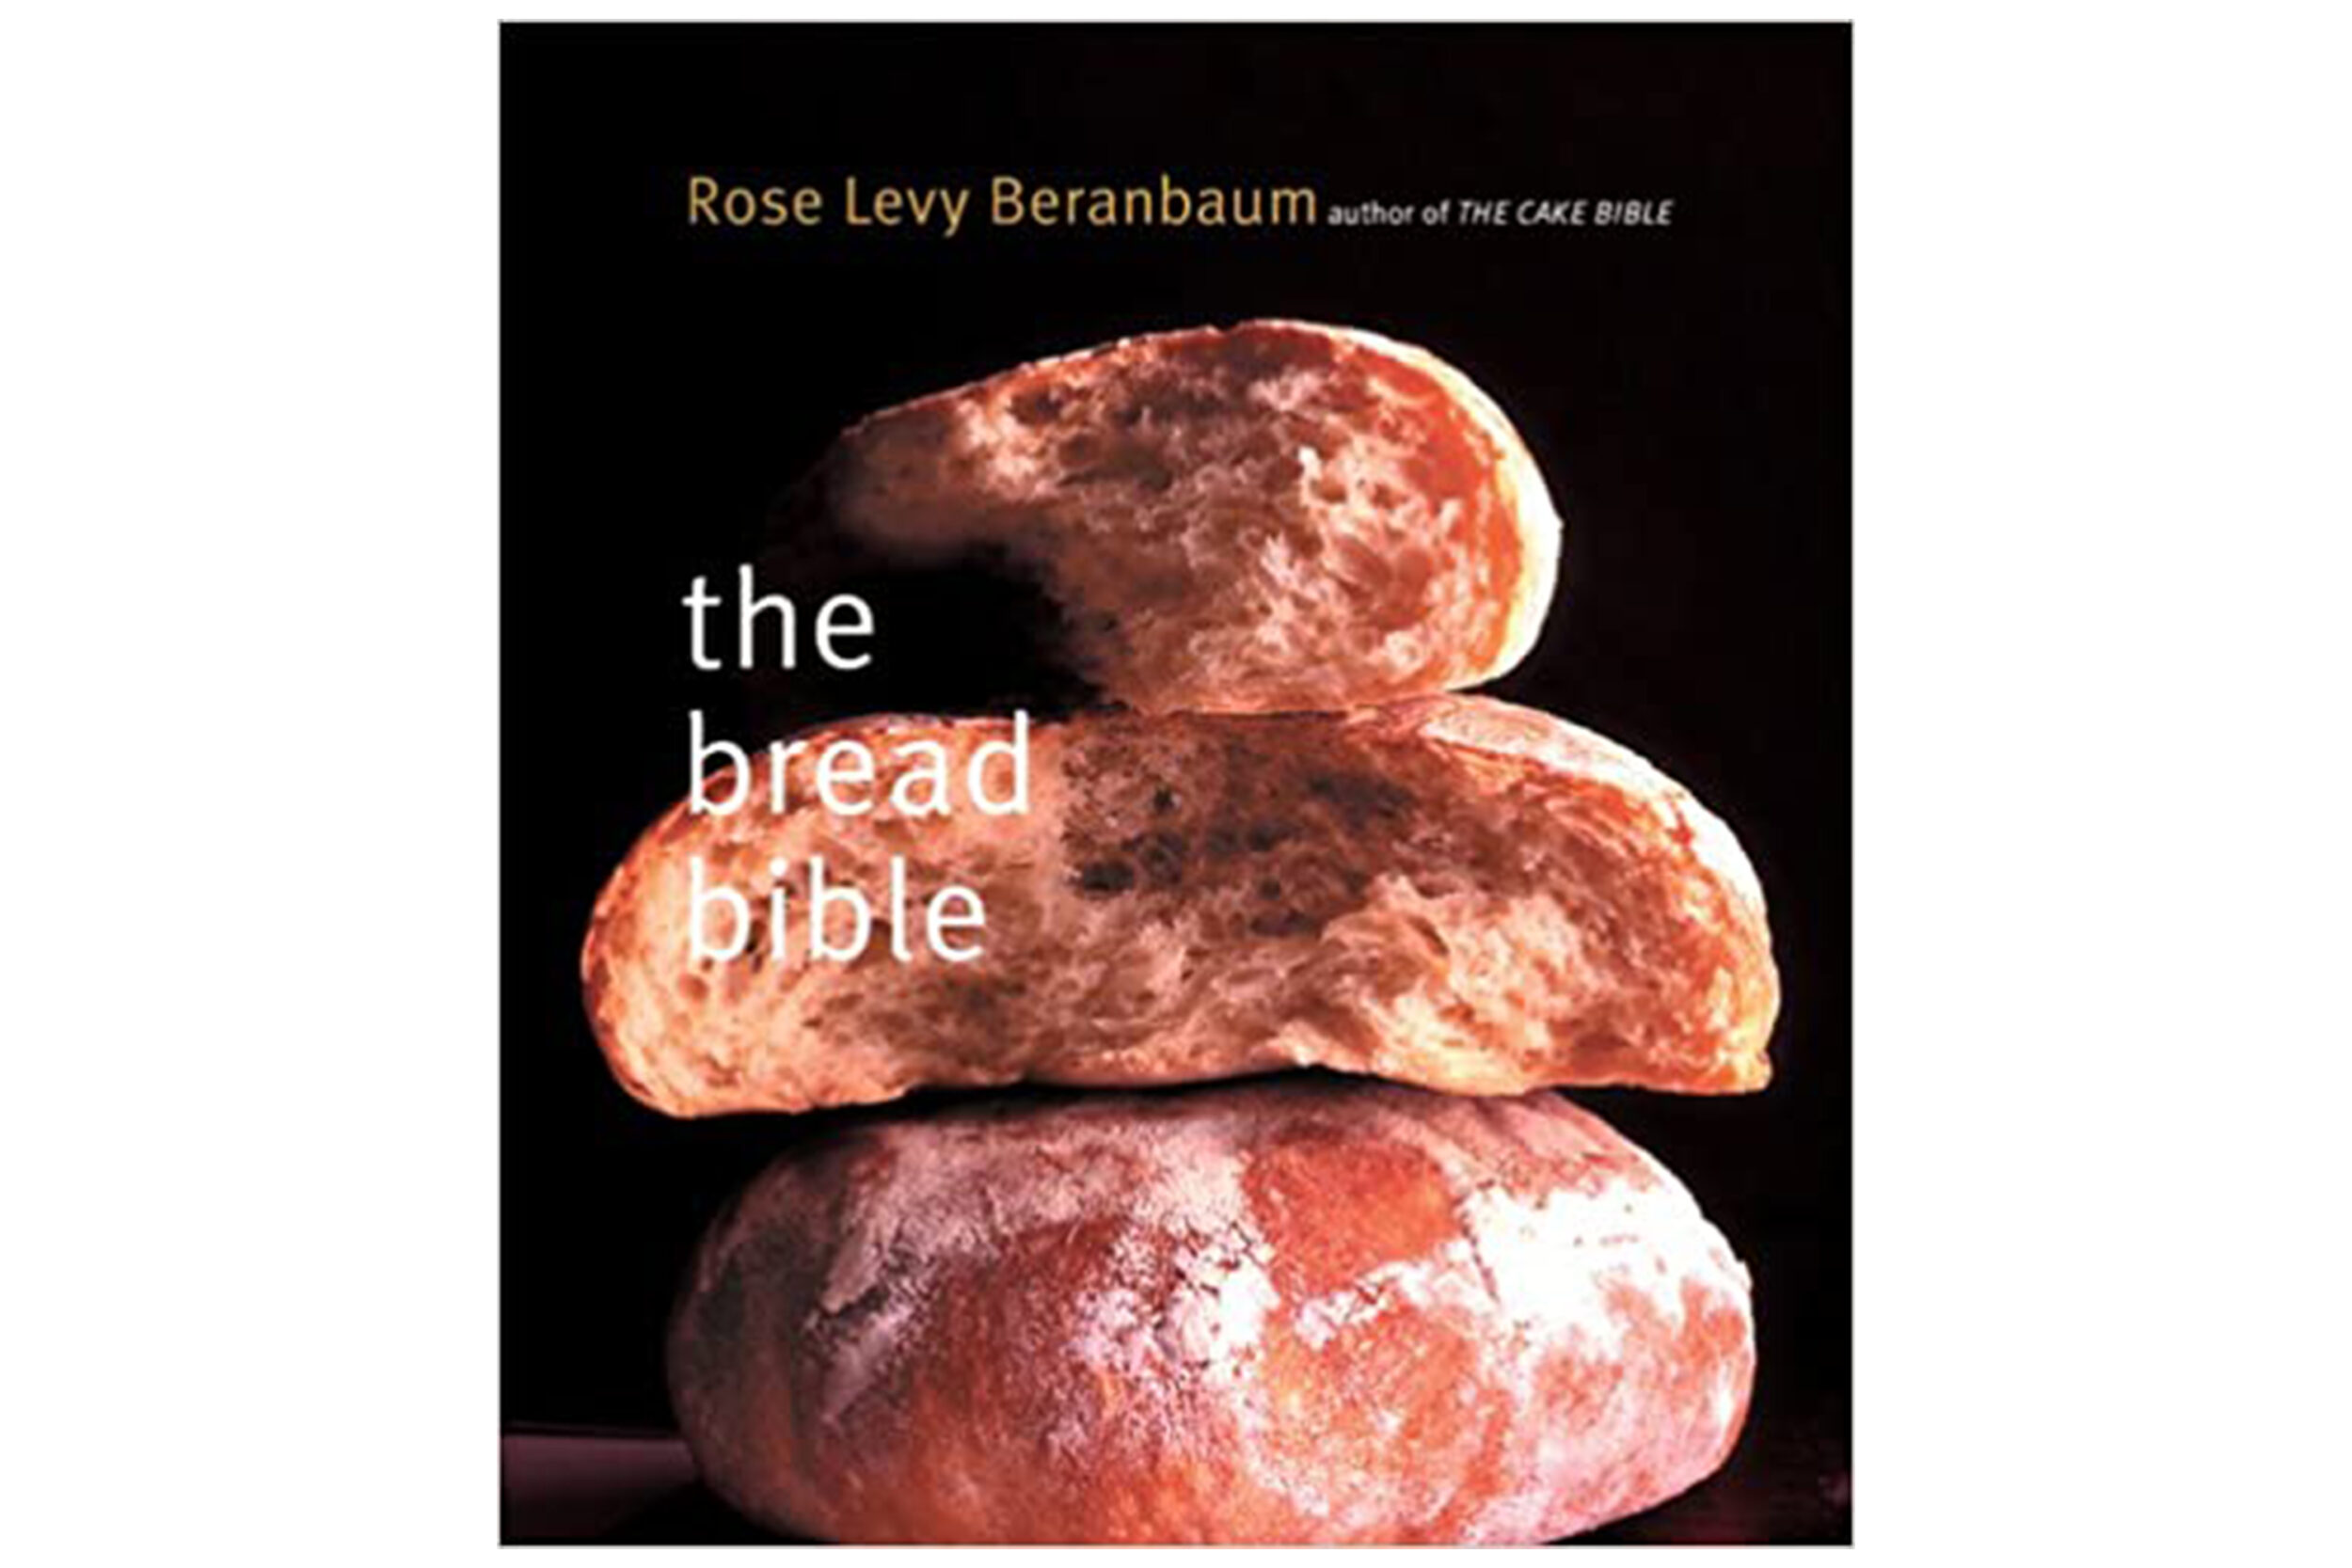
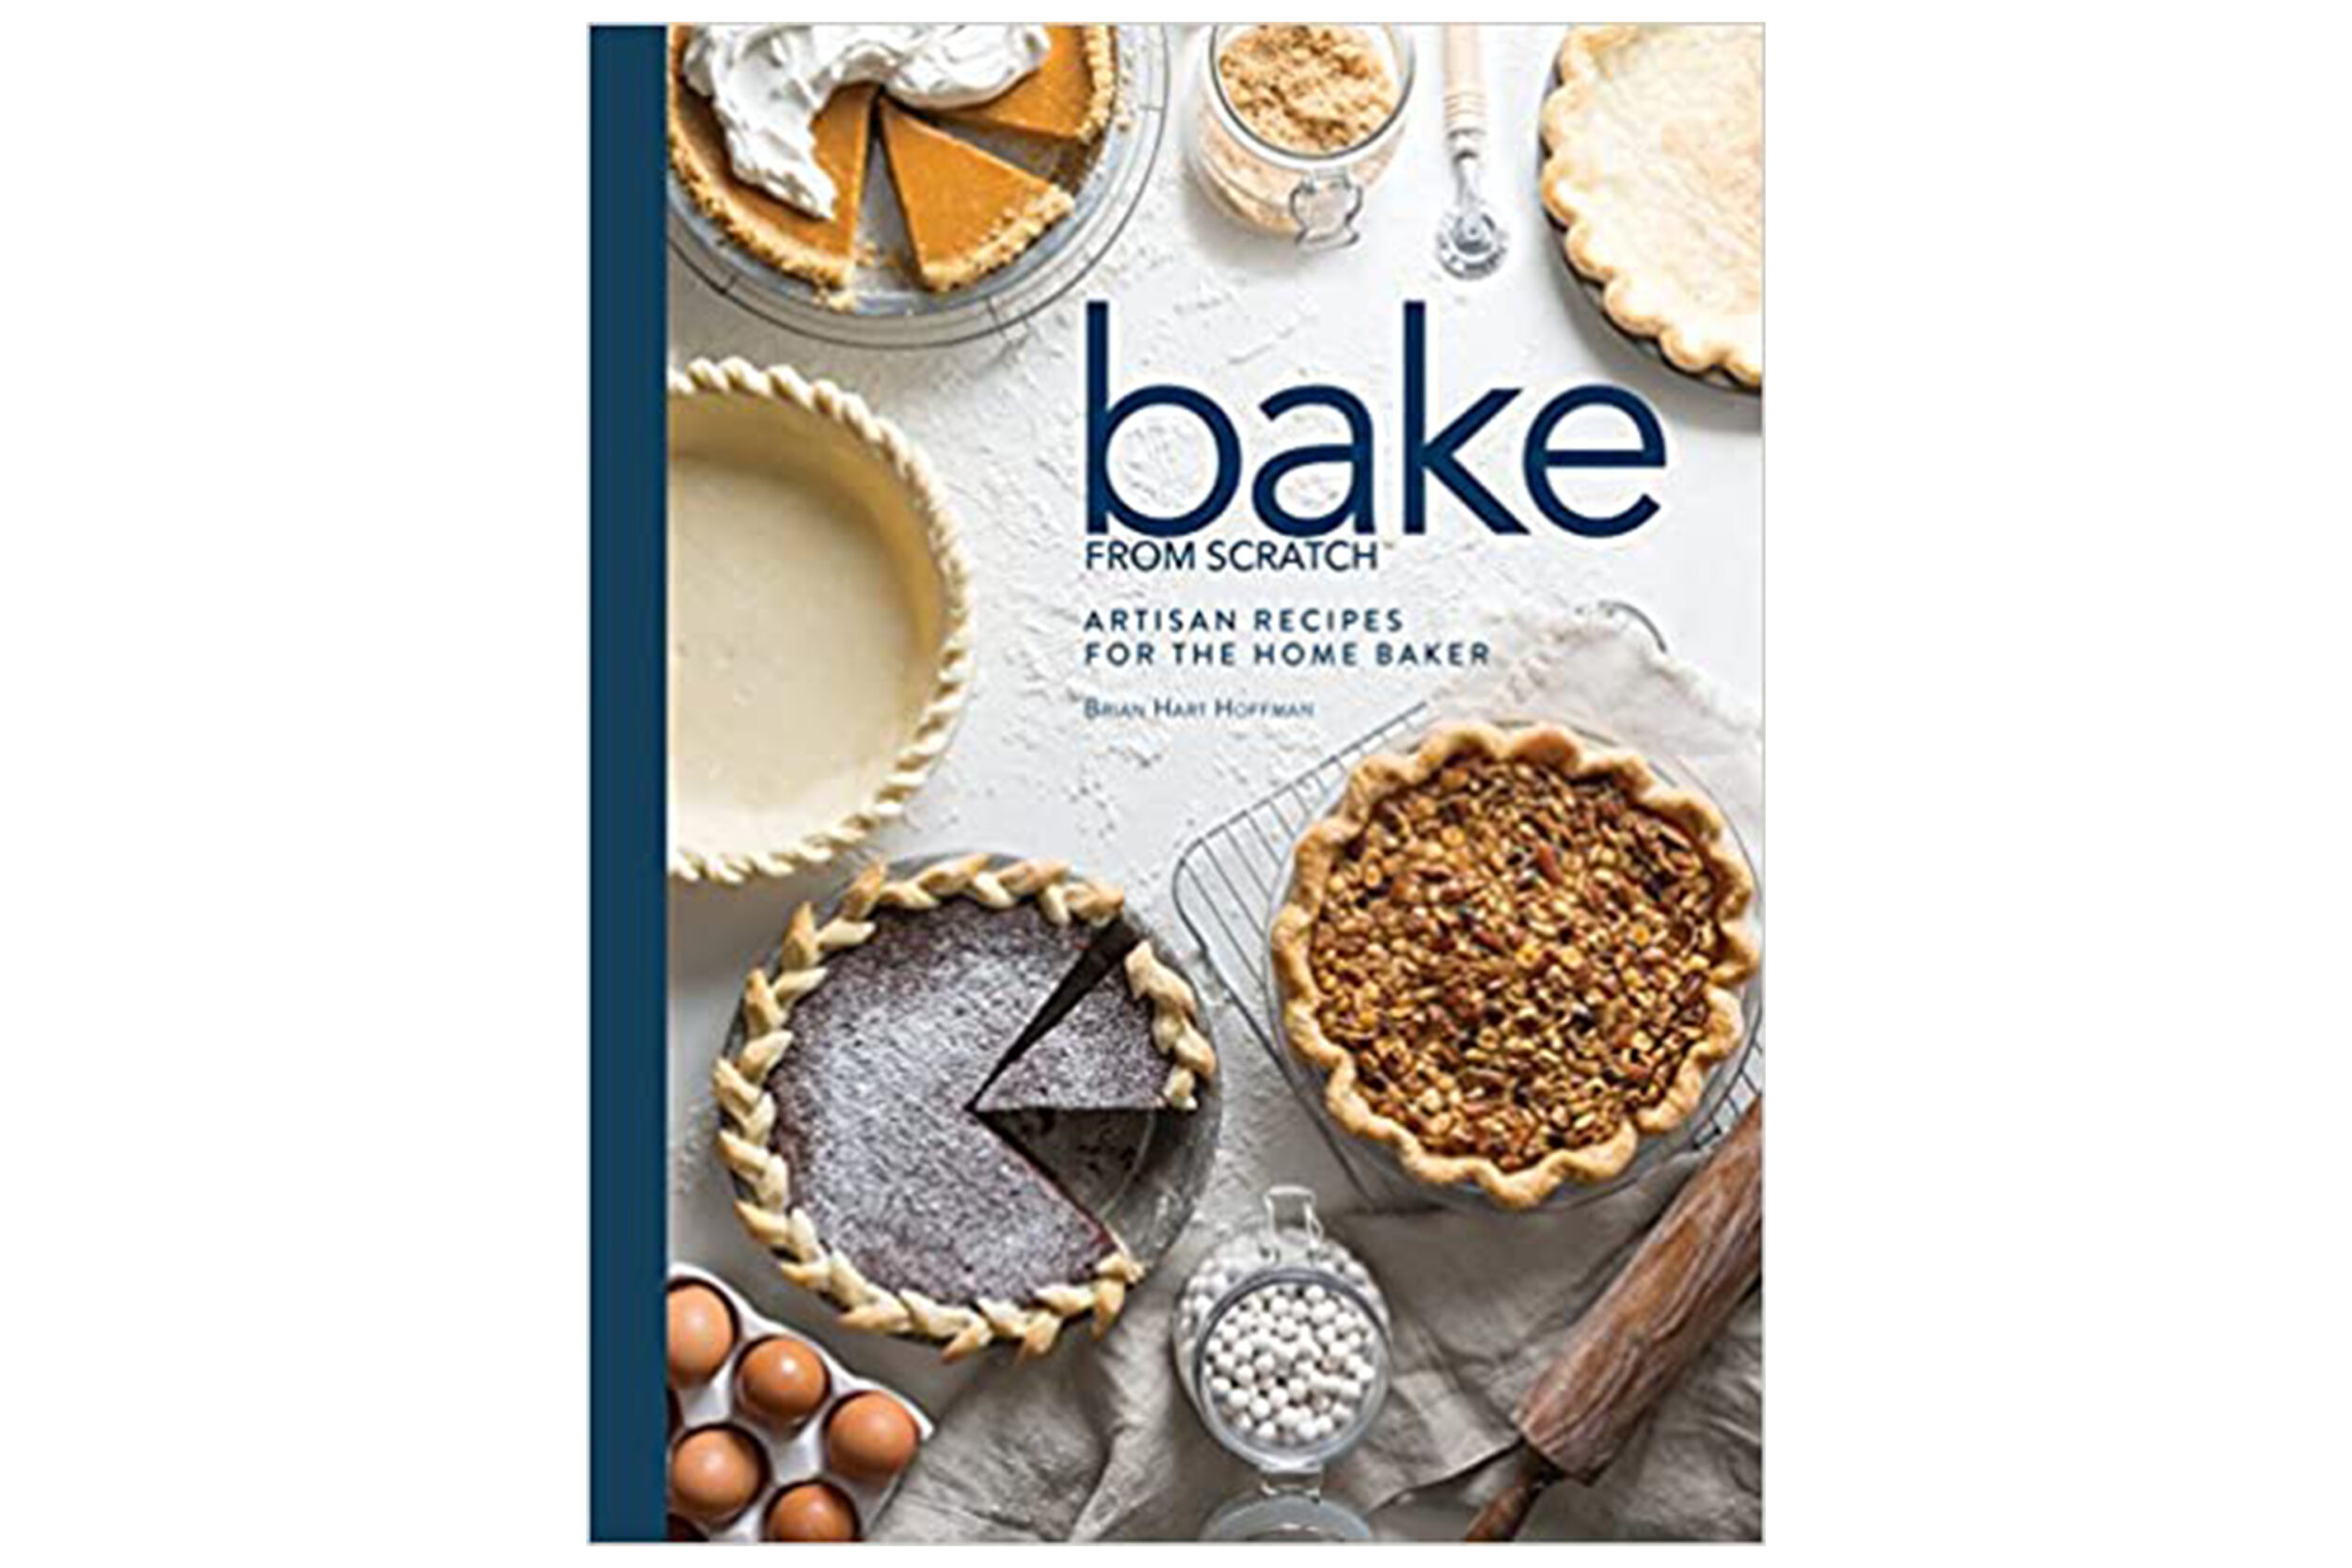
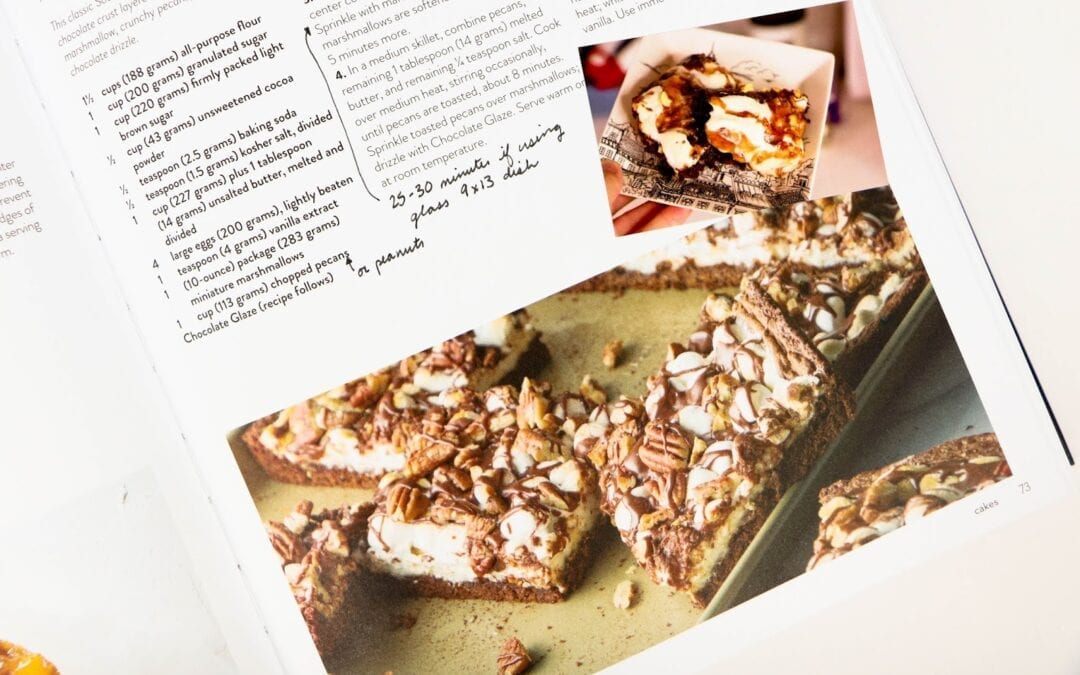
Oh, Hello Co. store consumed my life, I eagerly filled free time with baking. A delicious hobby that didn’t clutter the house (except with cookies, but that’s a welcome clutter) and felt like a cheap (did I say delicious?) form of therapy. I’m eager to get back to it for sure. But this post isn’t for me to gripe about missing baking, but to share how I’ve turned my cookbooks into scrapbooks. I love the idea of my recipe books becoming mementos to pass down in our family.
…
…
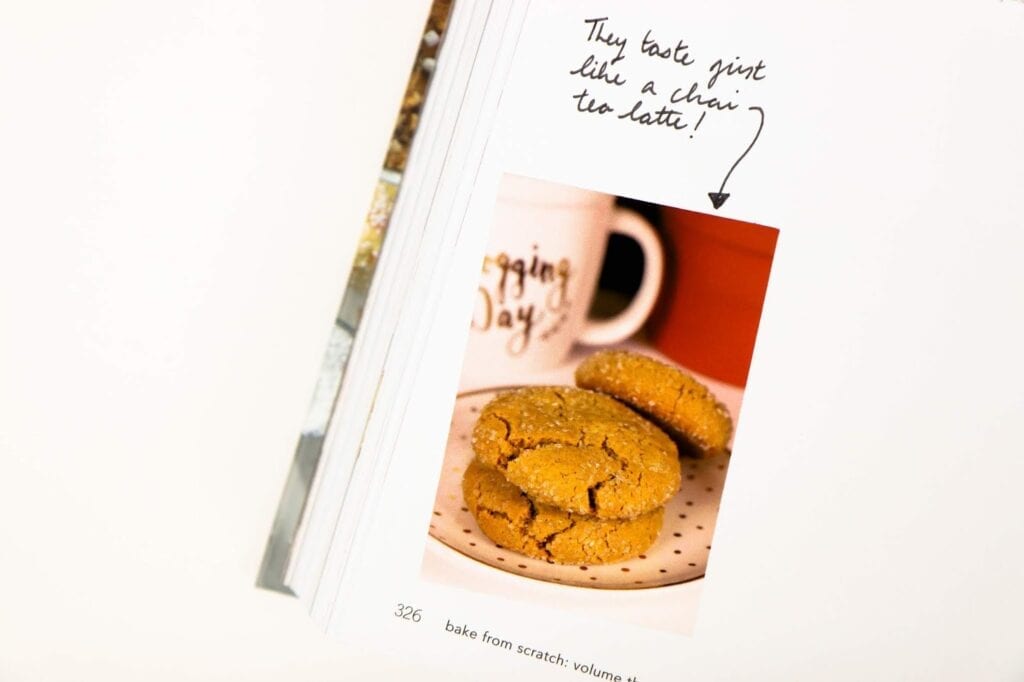
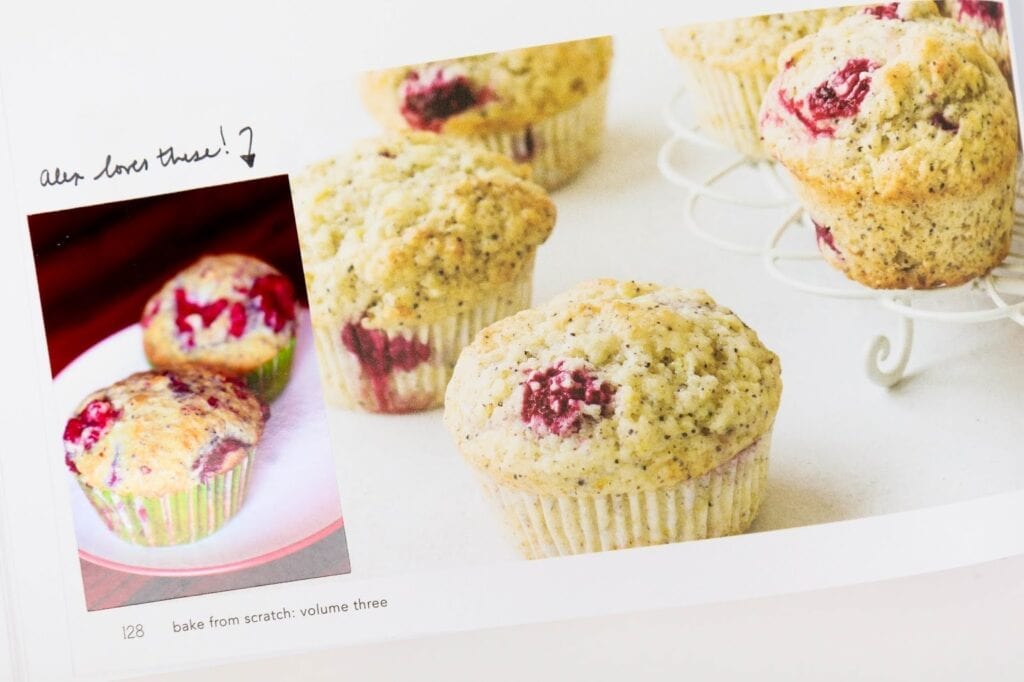
When I picked up baking as a hobby back in college, I would always write in my books any notes or changes I wanted to make to a recipe. Very half-blood prince of me I know. Just little tweaks here or there or our review of the recipe. Plus I’ve always had this habit of writing the date of when I first made the recipe. A scrapbook wasn’t a big leap.
…
…
After I create one of the recipes in my
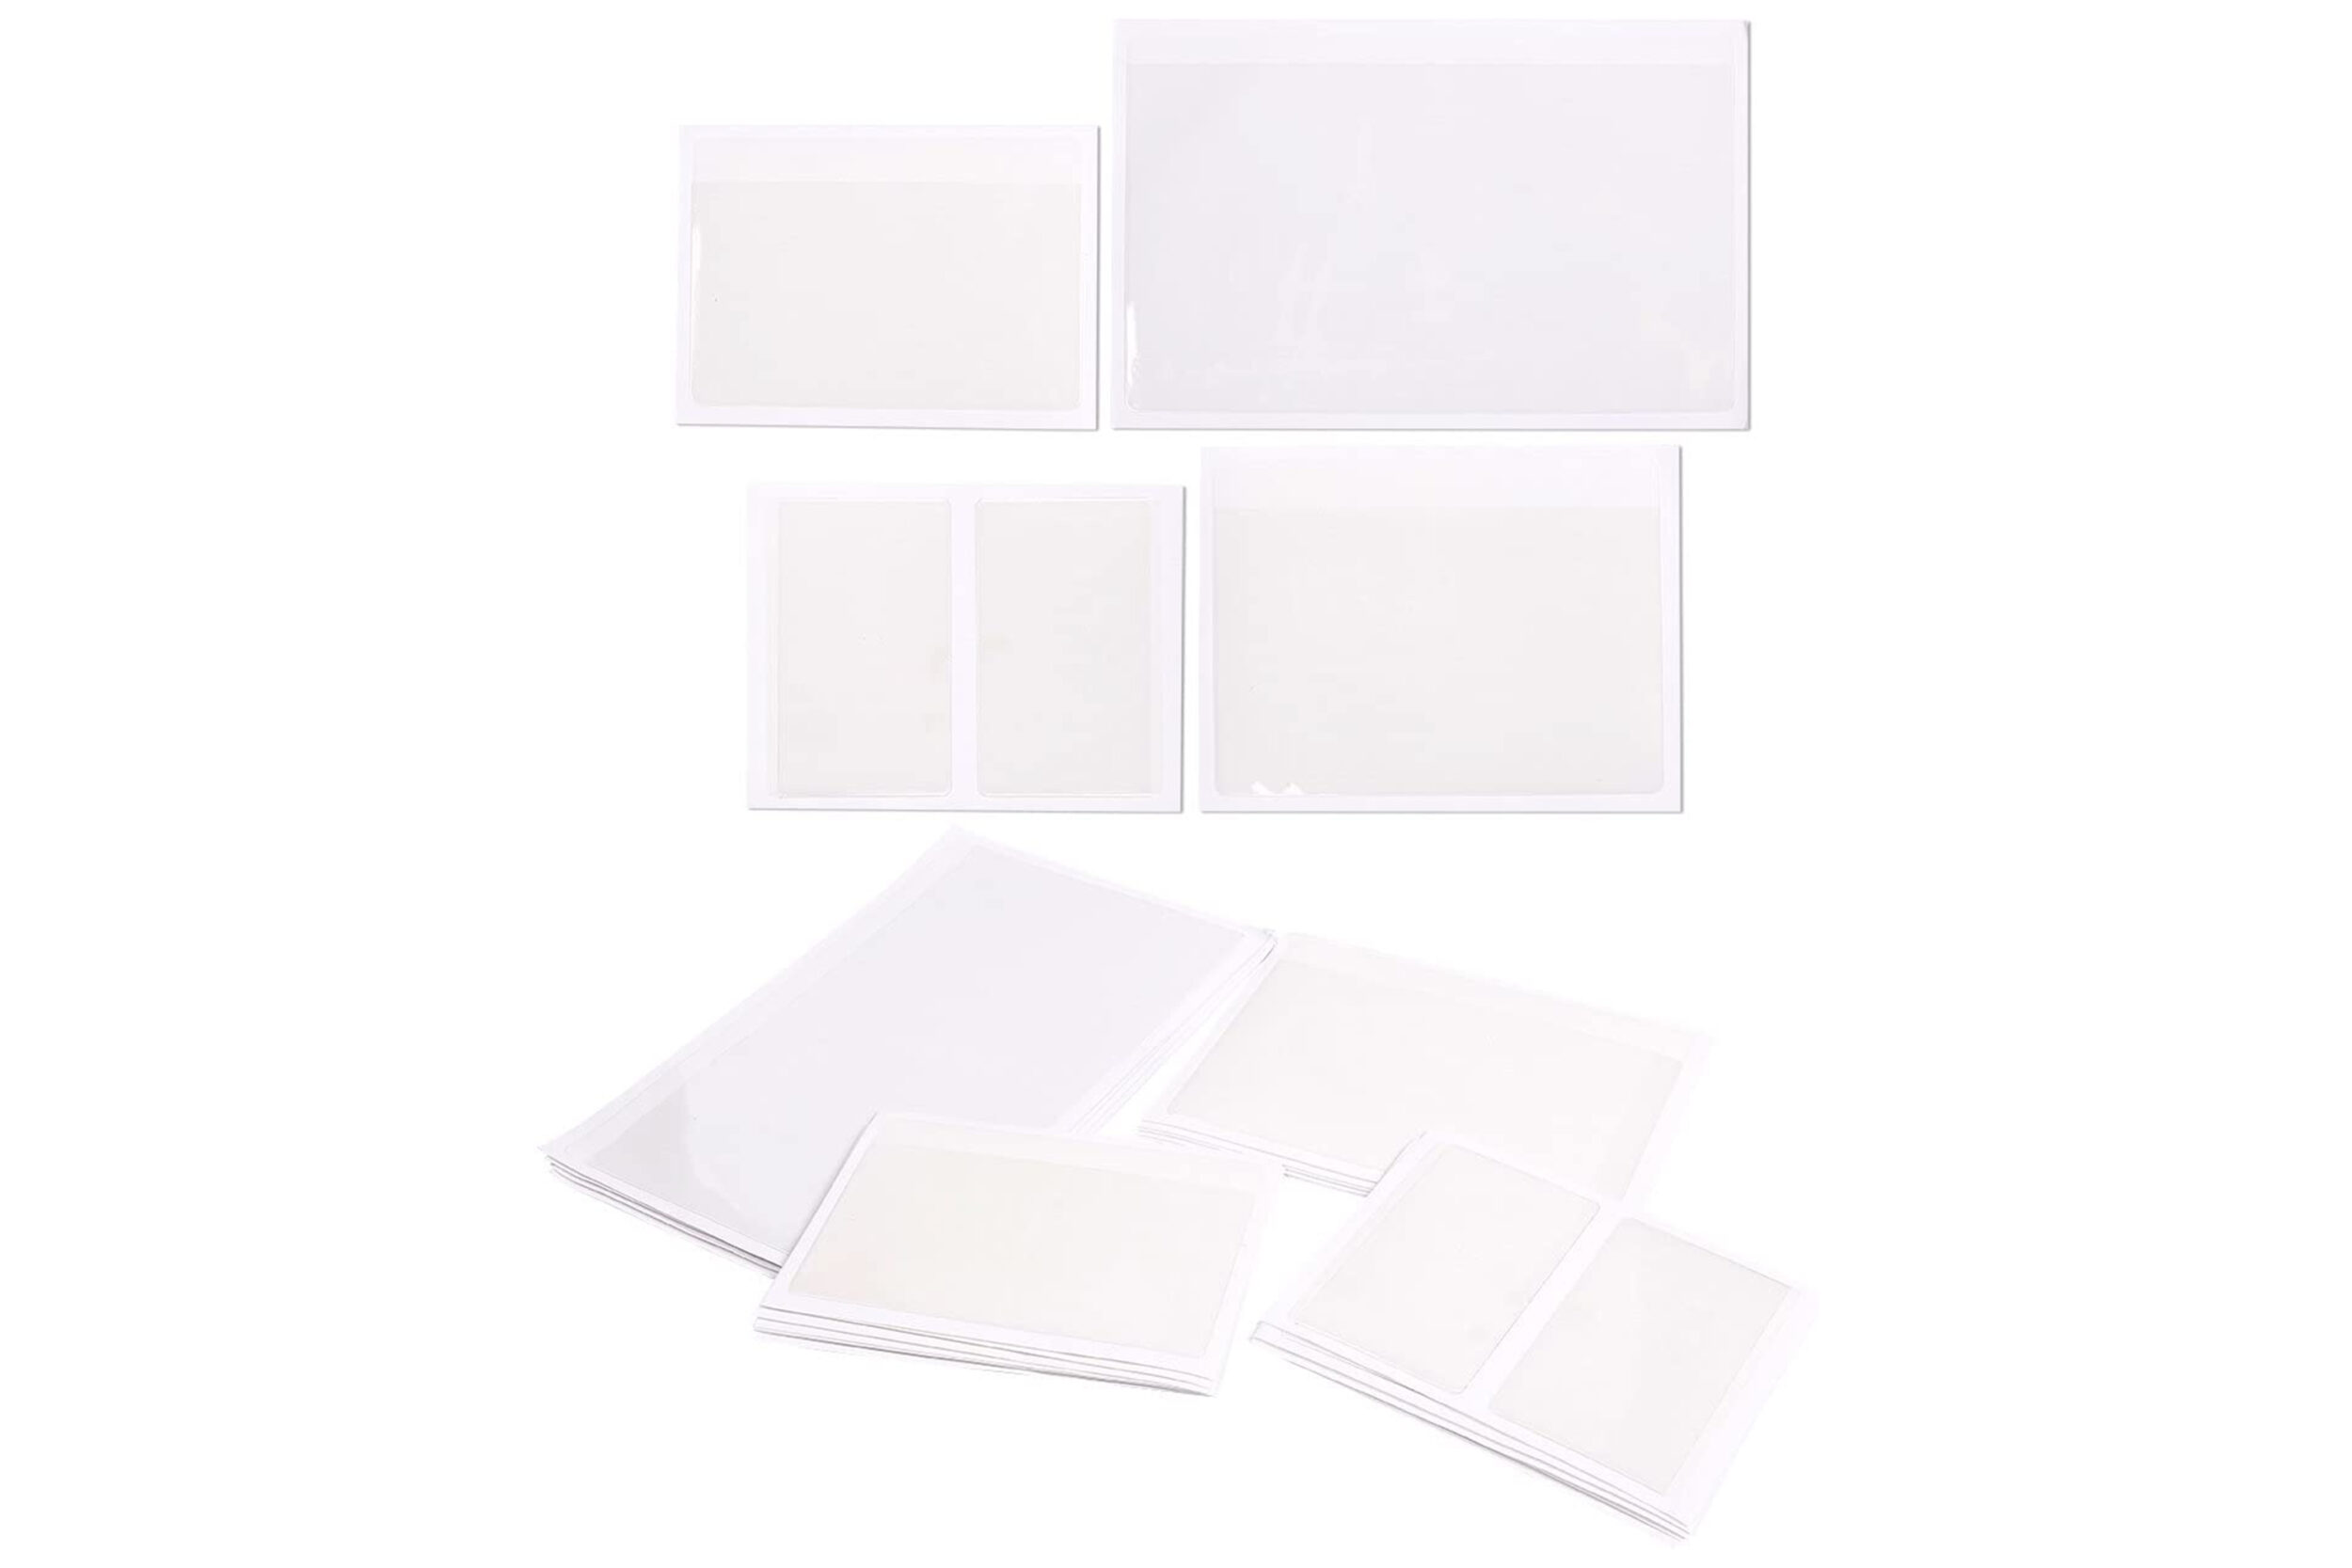
favorite cookbook I’ll take a photo and print it out on some sticker paper. I like seeing how my creation compares to the photo in the book and it encourages me to keep trying new recipes. My ultimate goal is to complete every single recipe in one of my cookbooks. It’s lofty, but someone has to eat all of these delicious creations…
…
Such a simple, easy way to make a cookbook that much more meaningful.
Let’s get into the recipes first because no one likes to scroll through a mountain of text trying to find the recipe…I’ll see you on the other side…
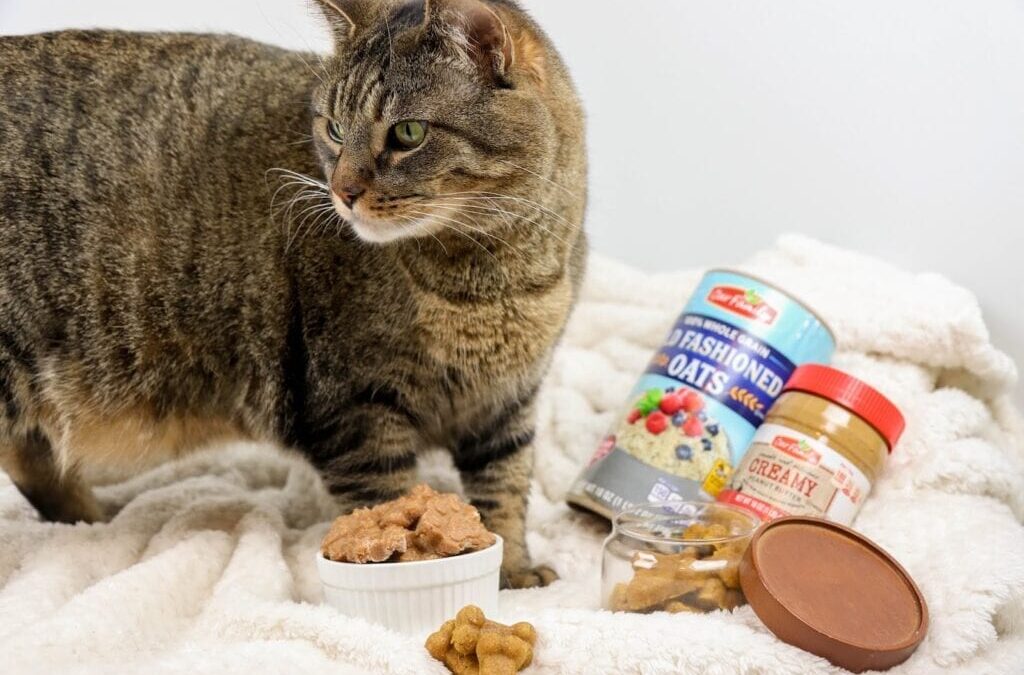
Homemade Three Ingredient Cat Treats
Ingredients
10 oz canned salmon or tuna undrained
1 egg beaten
2 cups whole wheat flour
Directions
- Heat oven to 350°. Pulse 10 oz canned meat (undrained) in a food processor and chop as finely as possible. If you don’t have a food processor, use the back of a fork to break the meat into small pieces.
- Combine meat, 1 egg (beaten) and 2 cups flour in a bowl until dough forms. If dough is too dry, add up to 1/3 cup water. If dough is too wet or sticky, add a bit more flour. Dough should be tacky but not sticky.
- Roll out dough on a floured surface until about 1/4 inch thick. Use a 3/4-inch cookie cutter in the shape of your choice to create your treats. I used a silicone mold to make cat paw shaped treats!
- Place treats on a parchment lined baking sheet and bake at 350° for about 20 minutes. When they’re slightly browned and crunchy, they’re done.
Homemade Four Ingredient Dog Treats
Ingredients
2/3 cup pumpkin puree
1/4 cup peanut butter
2 large eggs
3 cups whole wheat flour, or more, as needed
Directions
- Heat oven to 350°.
- In the bowl of an electric mixer fitted with the paddle attachment, beat pumpkin puree, peanut butter and eggs until well combined. Gradually add 2 1/2 cups flour at low speed, beating just until incorporated. Add an additional 1/4 cup flour at a time just until the dough is no longer sticky.
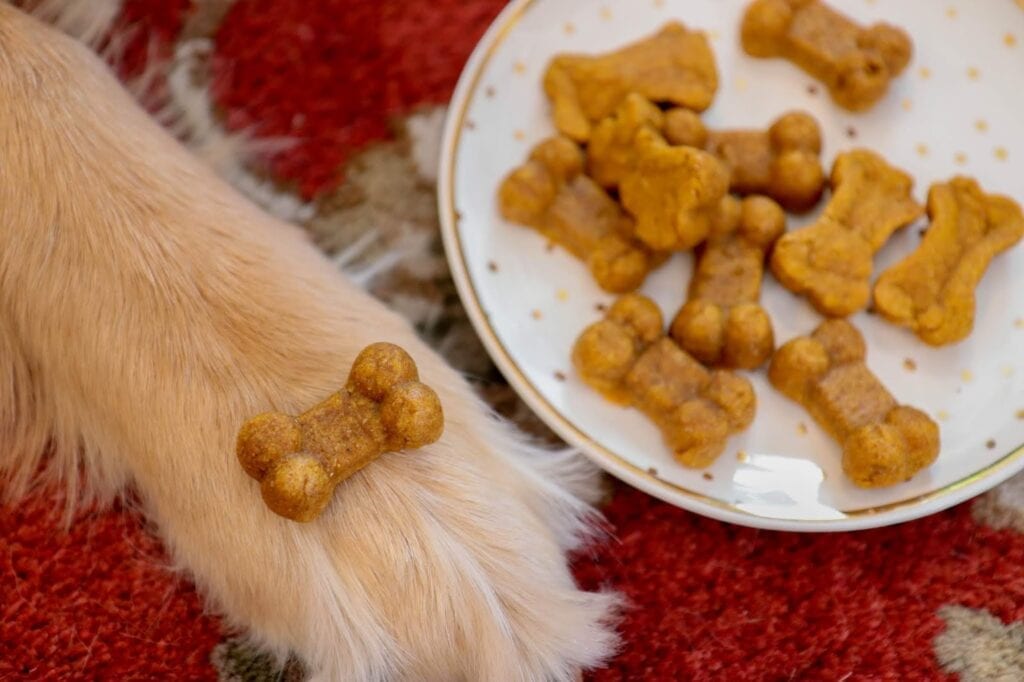
- Working on a lightly floured surface, knead the dough until it comes together. Using a rolling pin, roll the dough to 1/4-inch thickness. Using cookie cutters, cut out desired shapes and place onto the baking sheet. I used a silicone dog bone mold.
- Place into oven and bake until the edges are golden brown, about 20-25 minutes.
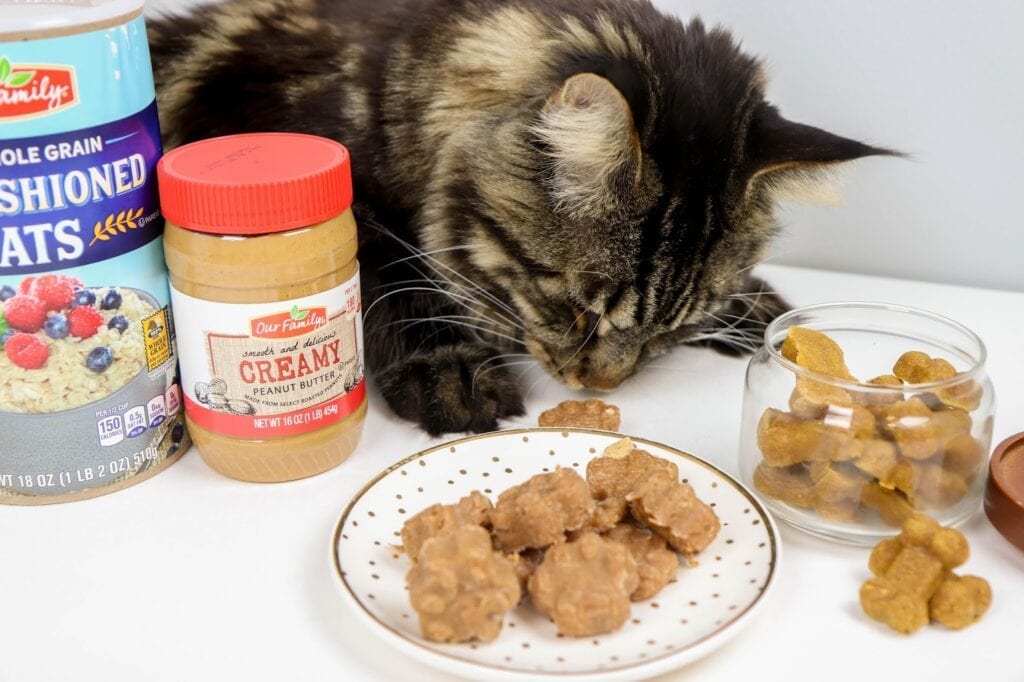
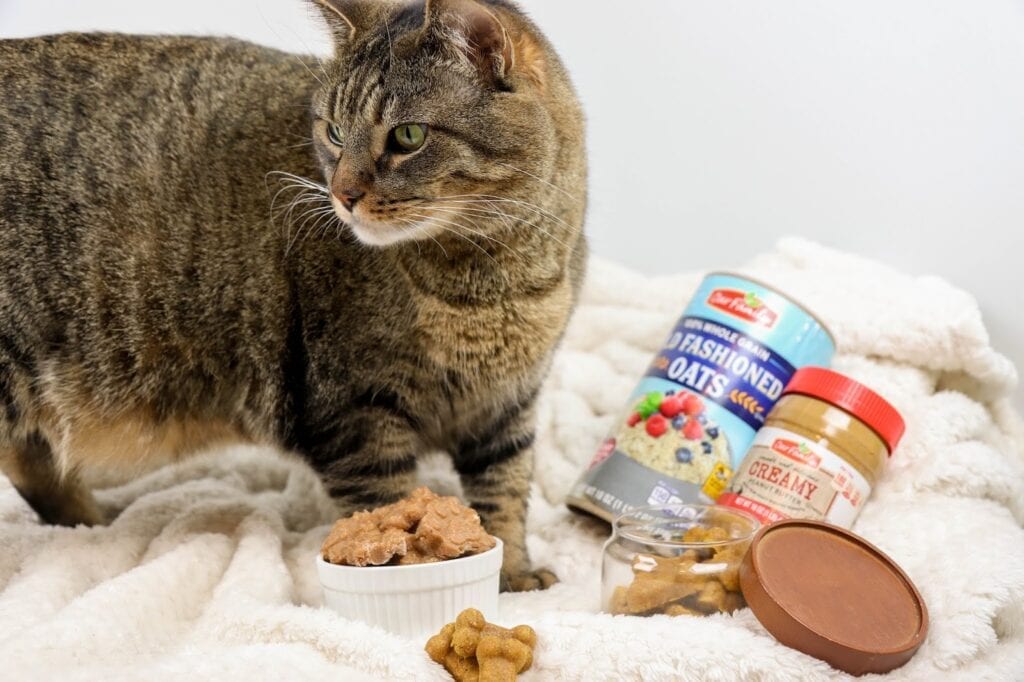
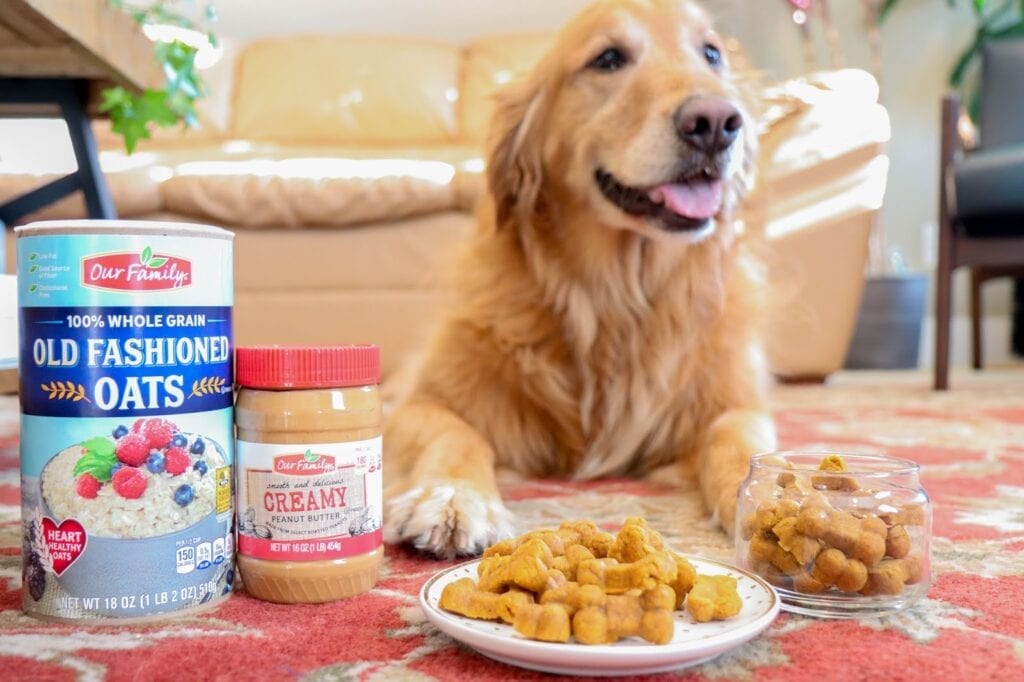
I’ve worked with Our Family* in the past on another
baking post so I jumped at the opportunity to try some recipes for the furry guys in my life. Our cats seriously go nuts for treats, so I’m glad I now have a recipe that I know
exactly what’s in it. You can pick up Our Family brand baking products at Family Fare or D&W if you’re in the Grand Rapids area. They’re affordable, high-quality, and are what I usually reach for when I’m grocery shopping.
Plus the Our Family peanut butter doesn’t contain any ingredients that are harmful to dogs. Just make sure to not feed any to cats as it’ll upset their stomachs.
After all of these treat filled photo shoots I’m definitely the favorite in this household. That’s for sure!
*This is not a sponsored post. I’m not being paid for this post and all opinions are my own. Our Family kindly sent over the products shown in the first photo to include in this post.
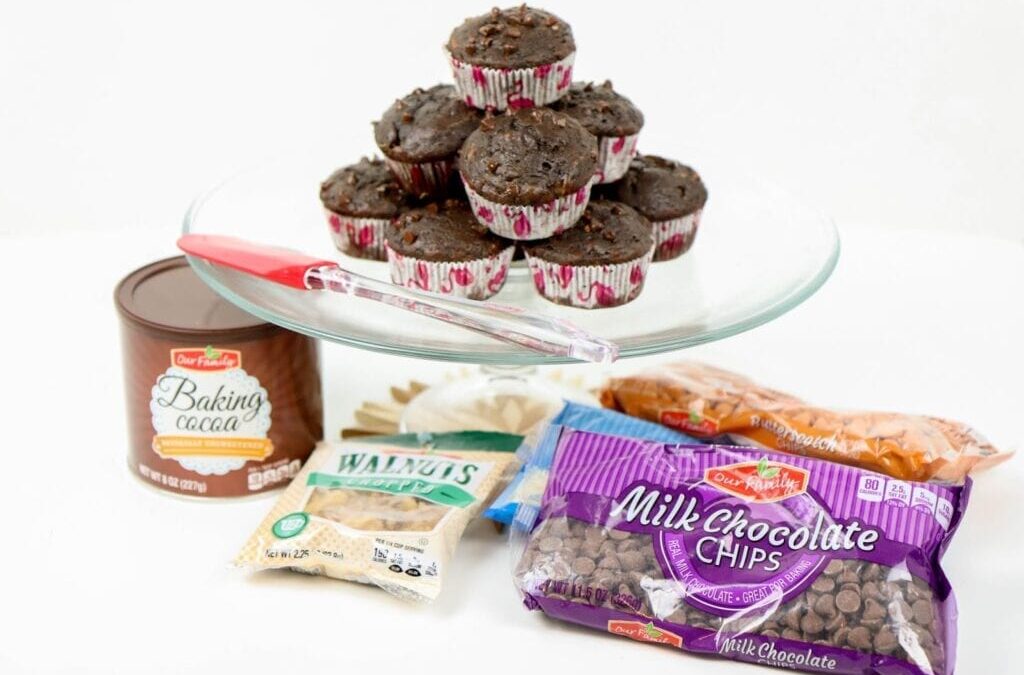
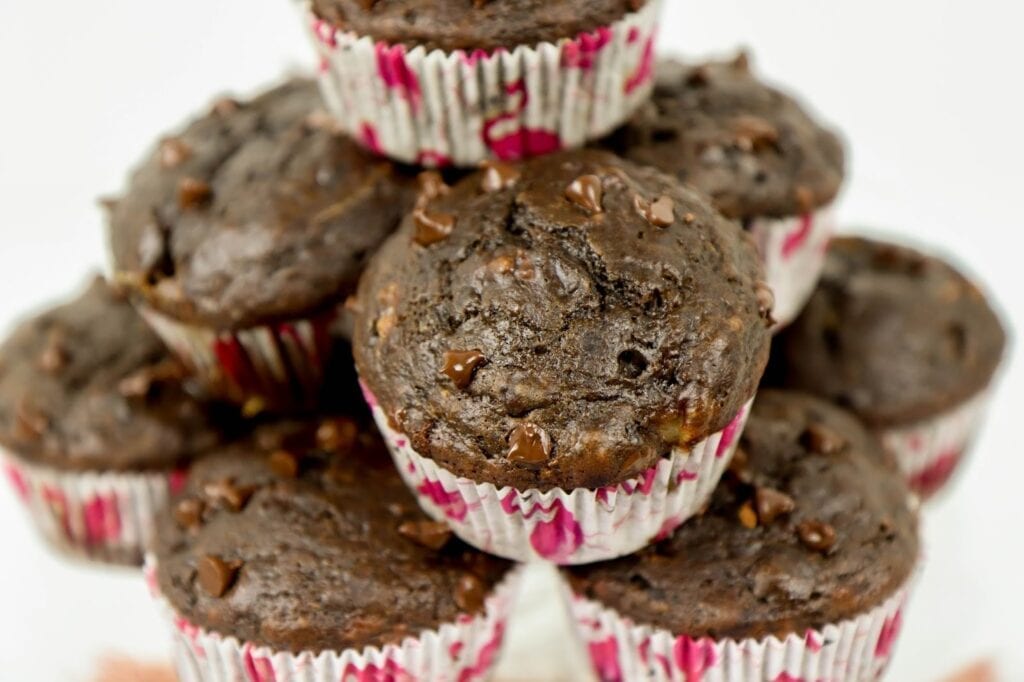
Chocolate and bananas? Count me in. I promise not to do that annoying thing baking blogs do where they ramble on about their kid’s soccer tournament for paragraphs at a time before finally getting into the recipe. That’s what you’re here for right?
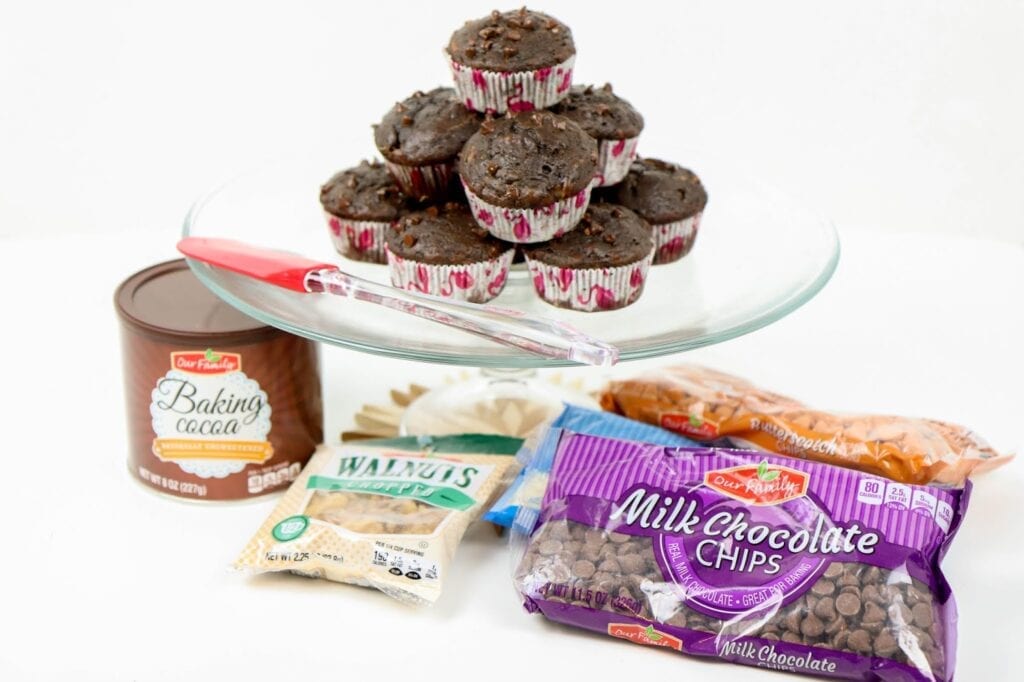
I’ve teamed up with Our Family* to bring you a seriously delicious muffin that definitely feels like dessert when you eat it. Rich cocoa, tiny chocolate chips, and bananas all mixed together in perfect happy harmony. They’re not financially sponsoring this post, but they kindly sent along a mountain of chocolate chips that inspired this recipe.
You can pick up Our Family brand baking products at Family Fare or D&W if you’re in the Grand Rapids area. They’re affordable, high-quality, and are what I usually reach for when I’m grocery shopping. Now on to the delicious recipe!
Makes 24 muffins
Ingredients3 large ripe bananas
1/4 cup butter softened
1/2 cup vanilla Greek yogurt
2 eggs
1 1/2 tsp vanilla
3/4 cup sugar
1 1/3 cup flour
2/3 cup cocoa powder
1 tsp baking soda
1 tsp baking powder
1 tsp salt
1/3 cup milk
1/2 cup chocolate chips and nuts
Directions
Preheat oven to 350 degrees. Blend bananas until smooth. Then add in butter and yogurt and mix until well combined. Mix in eggs and vanilla. Stir in sugar until well combined. In a separate bowl, mix flour, cocoa powder, baking powder, baking soda and salt. Combine wet and dry ingredients, add in milk and stir until just combined, do not over mix. Scoop into cupcake liners until half full. Bake for 15-20 minutes or until tops spring back when touched.
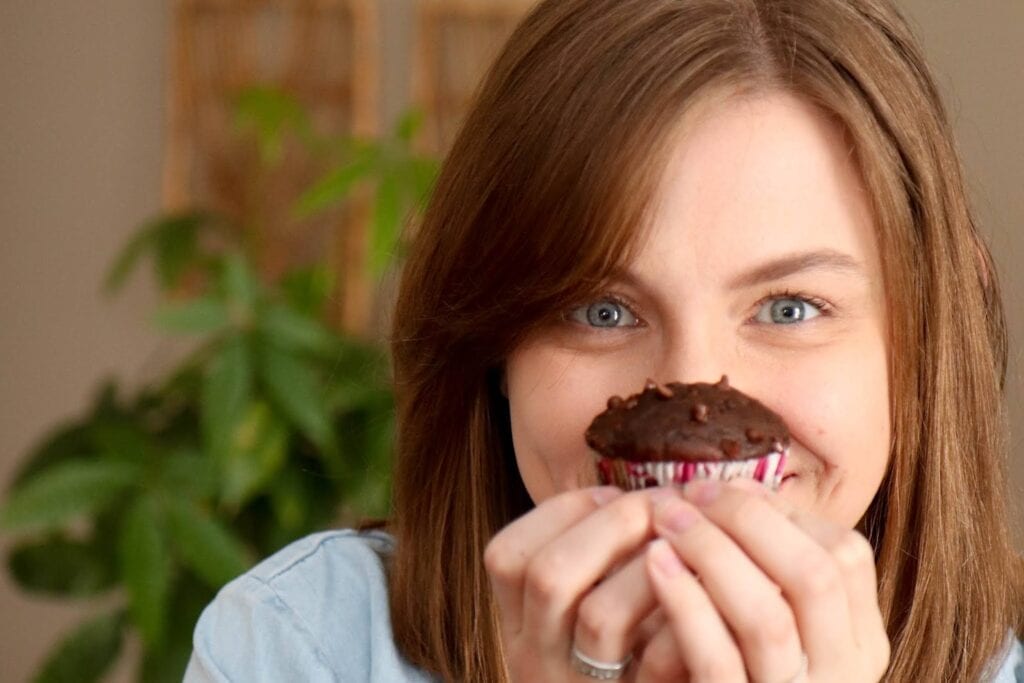
I would say these are great muffins for breakfast, but they’re almost too decadent to feel right eating them so early in the morning. But I won’t tell if you won’t…
*This is not a sponsored post. I’m not being paid for this post and all opinions are my own. Our Family kindly sent over the products shown in the first photo to include in this post.
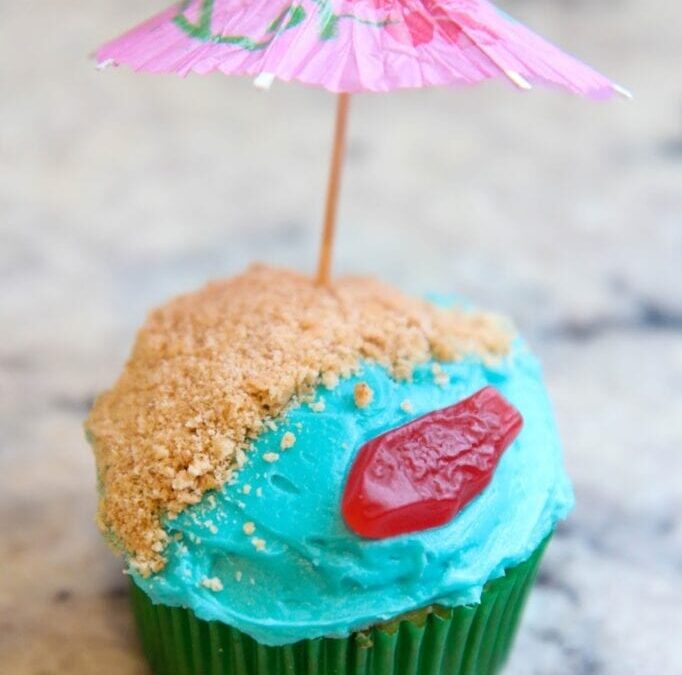
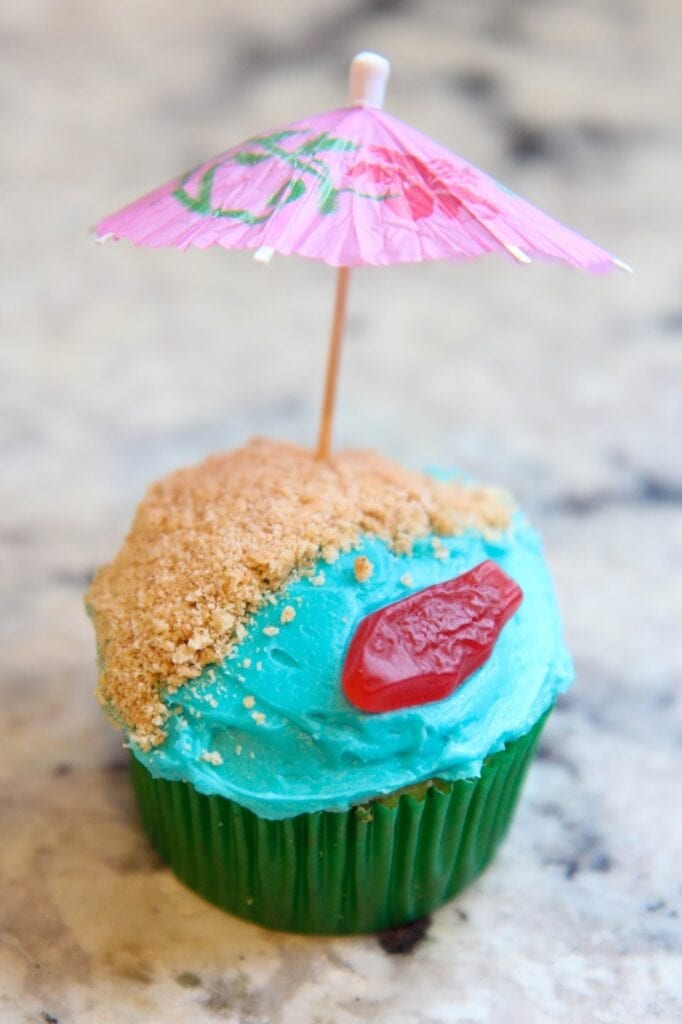
Over the weekend my mom and I hosted a beach themed bridal shower for my sister. Naturally I had to bake something for it. Honestly these cupcakes are so easy, they probably don’t need their own blog post. But I was just too dang proud of them that I had to share.
We were in a bit of a time crunch, so I just used boxed cake mix and didn’t fuss over it. I did however make my own buttercream frosting and dyed it the darkest shade of blue my food coloring would allow. We applied a thin layer of frosting and the cupcakes were ready to be decorated.
I used about three or four graham cracker pieces and smashed them into sand-like bits in a small ziplock bag. When sprinkling, make sure you pat the graham cracker sand into the frosting or most of it will fall off if you happen to tilt the cupcake. Seriously pack it on so it looks like sand.
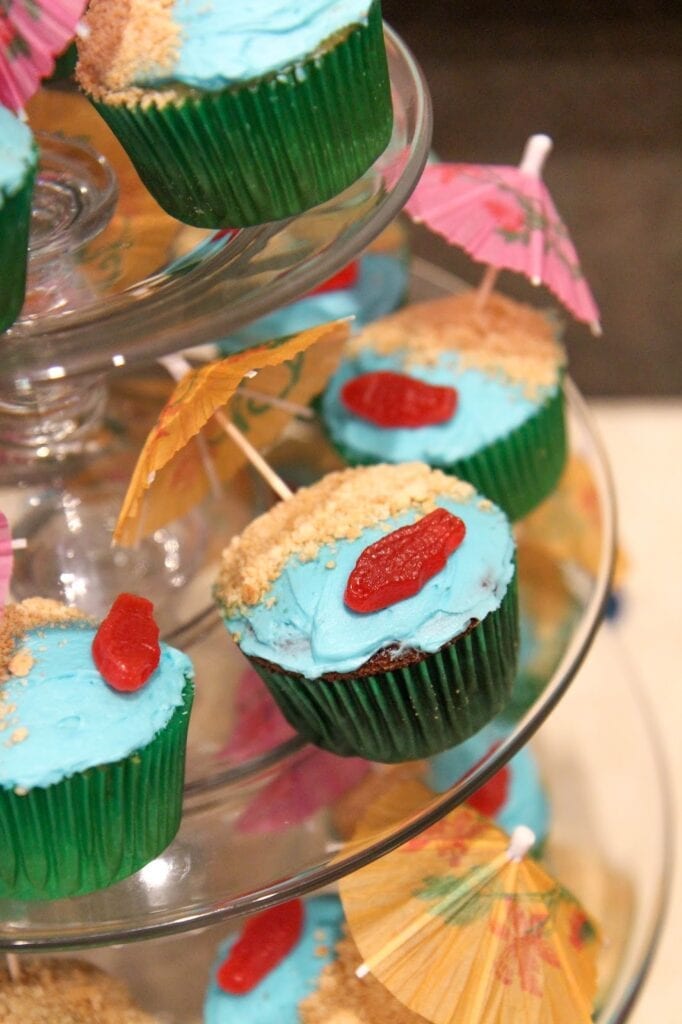
The hardest part about these cupcakes was finding small enough Swedish Fish. A regular bag of them is just too big so luckily I found a couple fun-sized bags at the party store while we were gathering other supplies. Pop one into the ocean and throw on a little umbrella and these babies are done.
They were a huge hit at the party and none were spared. Funfetti cake mix proved to be a bigger crowd favorite than the chocolate. The party was a blast and I can’t believe we’re getting so close to going on the wedding cruise. I definitely could use a vacation…
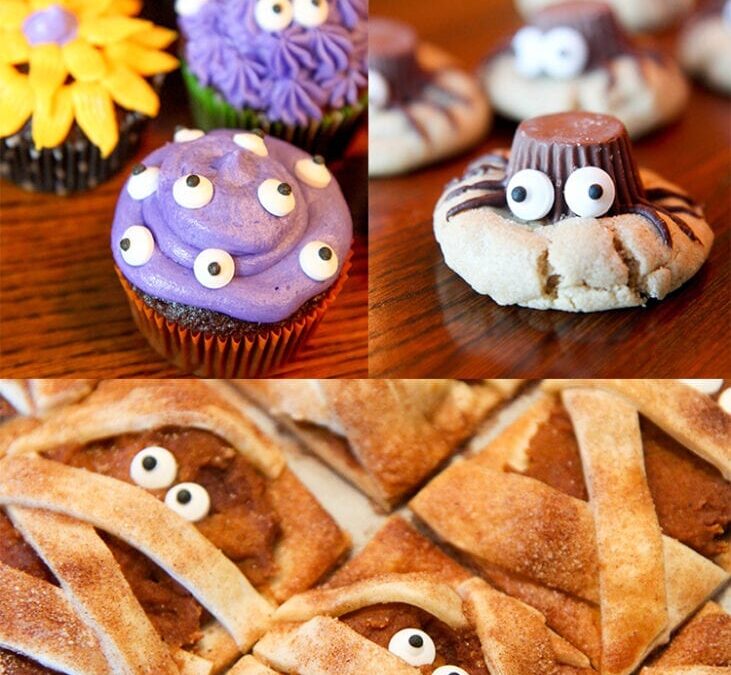
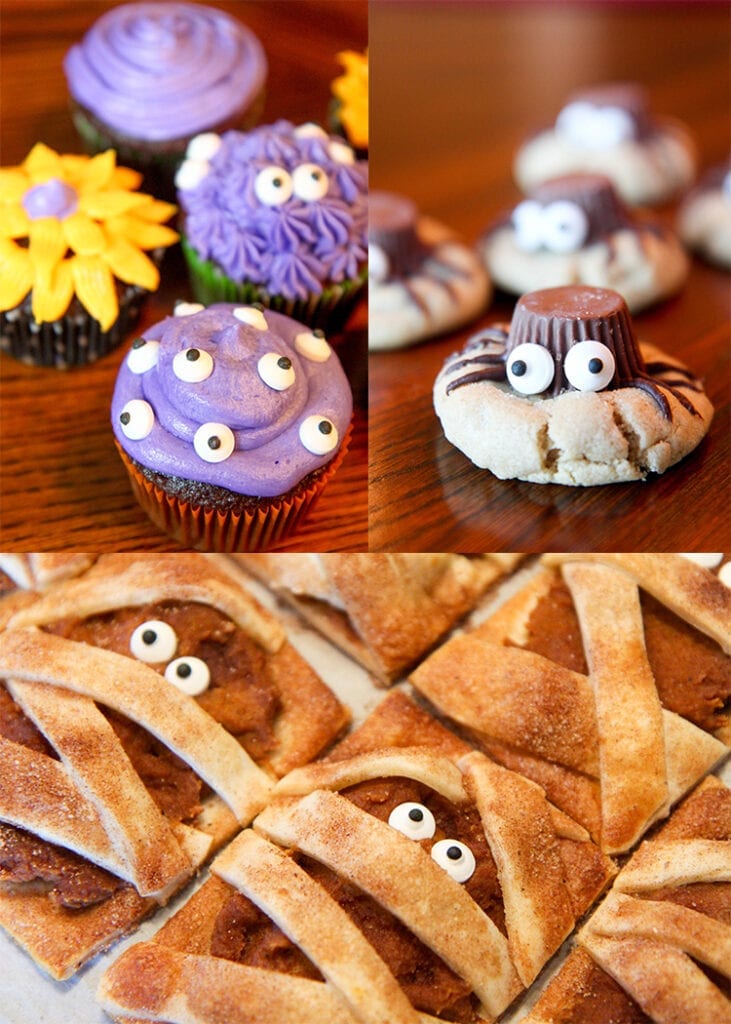
Nothing says Halloween like delicious treats. Sure candy is the easiest to snag up, but I wanted to try my hand at three different Pinterest recipes that are seriously getting me in the festive mood.
The
Peanut Butter Spider Cookies are a fun spin on a classic cookie. The recipe is pretty straight forward, but I definitely recommend using pre-made icing or an actual piping bag for the legs. Things got intense and very messy when I tried it the original ziplock bag method. I made these bad boys to bring to a neighborhood game night this evening. We’ll see how they go over!
My personal favorite of the bunch has to be these
Mummy Pumpkin Pie Cookies. Basically a pumpkin pie meets poptart, these cookies are seriously cute and look a lot more impressive than they actually are to make. The biggest downside is how small the serving size is. If you’re going to go through the effort to make these mummies, definitely double or triple the recipe to make it worth your while.
I desperately wanted to make the
Monster Cupcakes in order to try my hand at cupcake decorating. I’ve never used piping tips before and after a lot of trial and error getting the frosting the right color, we were in business. This is such a fun activity for kids and really pumps up the creativity. Plus if you get a tip set it’s a blast trying to figure out what each one does. The candy eyes aren’t too difficult to find in the baking aisle of most super markets and it gives classic cupcakes a spooky vibe that’s just perfection.
This has been one crazy baking filled week. Now to sit back and eat way too much.
